

Even though it tries its best, Google Photos is only sometimes successful in preventing exact duplicates when users use various devices or upload methods. You can also re-upload edited photos or ones with changed metadata. Changing the name or path does not cause the upload to start over.
Importantly, in addition to showing photos and videos uploaded to Google Photos, the mobile Google Photos app also displays photos and videos stored in local folders. In this article, we will discuss how to Remove duplicate photos from Google Photos.
Reasons For Getting Duplicates in Google Photos
The following are the reasons for getting duplicates in Google Docs:
- With Picasa, you can easily make copies of your edited, tagged, or otherwise modified photos by simply uploading them again to Google Photos. There were no instances of duplicate photos when you renamed them.
- For example, you are uploading using a computer and a mobile phone. Although you can duplicate videos, you regret that we cannot reproduce images to a photographic standard.
- Some users have mentioned seeing duplicates after upgrading to a new phone. Why and how this causes duplication is still being determined.
- Duplication can occur on newly installed or formatted computers.
- It lets you choose between RAW and JPEG or HEIC and JPEG during uploading.
Google claims “it cannot decide which photo the user wants to keep” in response to numerous requests for a deduplication programme. An existing search feature that compares two or more items side by side (best tools for comparing same images) would be helpful in this case.
3 Manual Methods to Find and Remove Duplicate Photos on Google Photos
Here are the three most effective ways to detect duplicate photos and remove them from Google Photos.
Method 1: Stop the Syncing of Photos to Google Drive
Duplicate photos will appear in your library if your Google Drive photos are set to sync with Google Photos. Turning off the ability to sync photos with Google Photos is a quick and easy fix.

Step 1: On your mobile device, launch Google Photos. On a computer, go to https://photos.google.com to access Google Photos. To access your photo library, search for “Google Photos” on your iOS device or “Photos” in your Android device’s app drawer.
Step 2: Select Settings from the menu after you tap the three-line icon on the left side of the panel.
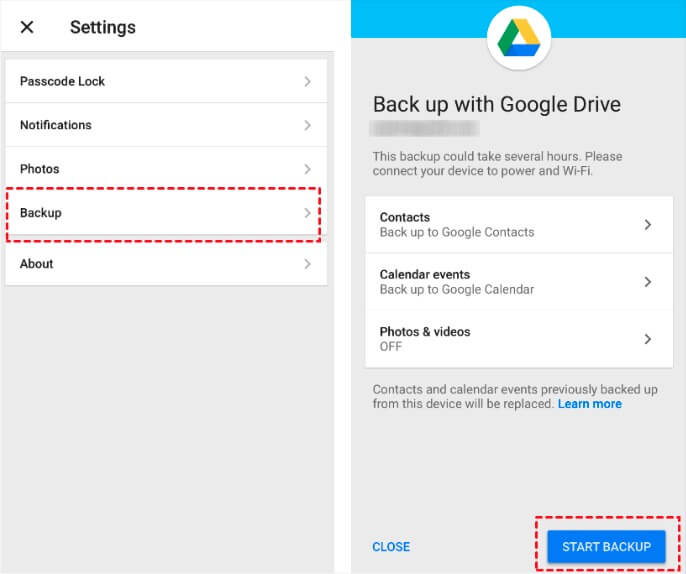
Step 3: After you scroll down, you should see the Google Drive option. Simply disabling syncing by turning this option off will eliminate the possibility of duplication.
Method 2: Remove Duplicate Images Manually
You can manually Remove duplicate photos if there aren’t too many. You should expect to see identical photos side by side in Google Photos unless you edit the date and time. Finding the copies and removing them one by one is all that’s required. What follows is a list of things you must do:

Step 1: Launch Google Photos on your desktop, mobile, or tablet.
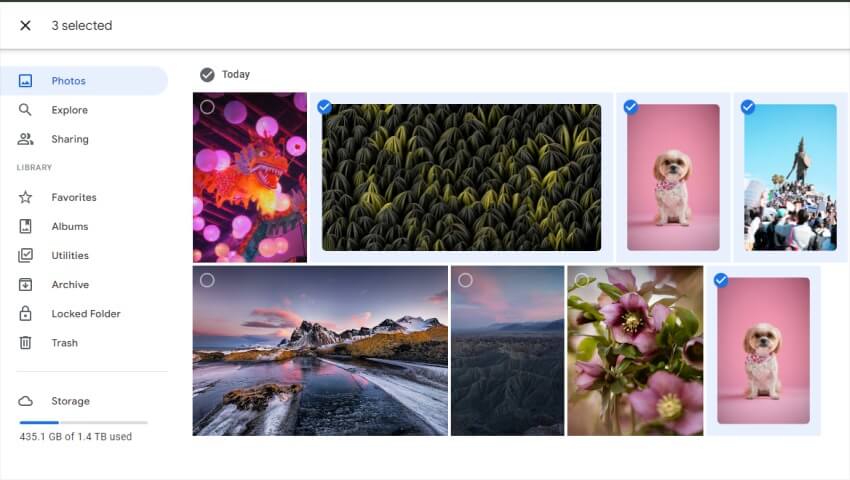
Step 2: On the left-hand panel, you should see the Photos tab.
Step 3: Find the mirror image and select it. The delete button should now be visible in the upper left corner of your screen. Toggle this selected option.
Method 3: Eliminate Redundant Images Using a Mobile App
The best method to delete duplicate screenshots from your mobile device’s Google Photos app is similar to the first.

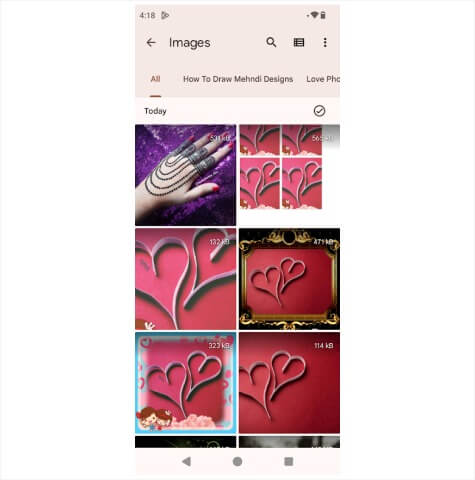
Step 1: Navigate to the Photos tab in the app’s bottom left corner after opening the Google Photos app from the home screen.
Step 2: Choose Select or Select photos from the menu in the screen’s upper right corner.
Step 3: To remove a duplicate photo, first tap on it. Then, in the upper right corner of the screen, you should see the trash can icon.
Step 4: After a confirmation pop-up, tap Remove to move your photos to the trash.
What is Duplicate Photos Fixer Pro?
Duplicate Photos Fixer Pro is an excellent duplicate photo finder tool to locate and remove duplicate images from your computer, cloud storage, or any other device. It employs a smart algorithm to compare photos and display exact copies. The program compares content and other parameters to identify valid duplicate photos rather than searching for them by filename. Finding and removing duplicate photos has always been challenging and faster.
Features
- Duplicate Cleaning with a Single Click
- Works with Both Internal and External Storage
- Total Number of Scanned Files
- Minimised Recurrence of Duplicate Images
- Discover Replicated Images in the Cloud
- Support for a Vast Variety of File Formats
Also See: How To Convert Images to Text on Apple Mac?
How Can You Use Duplicate Photos Fixer Pro on PC?
Here are the steps to use Duplicate Fixer Pro:
Step 1: Run the Pro version of Duplicate Photo Fixer. Then click Add Photos/Add Folder or drag and drop the images to scan.
Step 2: Select the option to compare matches using the Exact or Similar comparison mode. To find similar images, adjust the Matching Level.
Step 3: The next step is to select Scan for Duplicates. Just be patient and let it finish.
Step 4: A window displaying the scan results will appear after this. The Selection Assistant and Auto Mark features allow you to choose identified duplicates. At last, to remove the images, click the Delete Marked Button.
In this approach, erasing duplicate images from Windows becomes a breeze. In this way, you can organise duplicate images in Google Photos.
Conclusion
You can delete duplicate screenshots in Google Photos in four different ways. Google Photos on desktop, mobile, and tablet devices can have duplicates removed and new ones created with the help of the techniques above and advice. Also, you can find detailed information on how to manage the same pictures in Google Photos and how to free up space in Google Photos if you need it.


 Account")