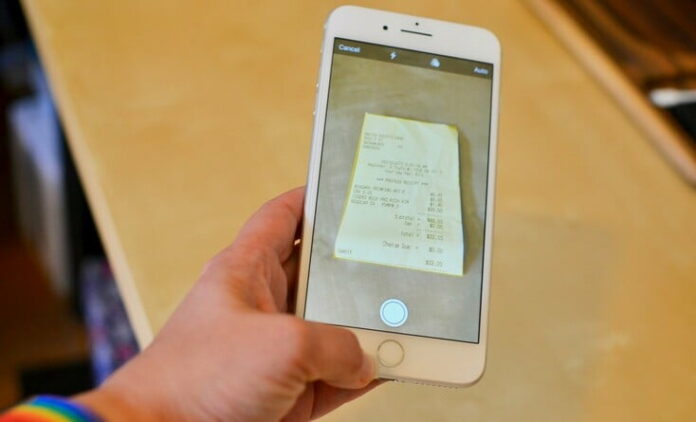
Anyone without one of those fancy all-in-one printers with a scanner may find it difficult to complete a task such as signing and scanning and sending a document. Forget the task from 10 years ago. However, you may already have a scanner at your fingertips: your iPhone. No, I don’t mean taking a picture and cropping it — that’s a waste of time. Some people may not realize that their iPhone has a built-in scanner that allows them toScan Documents on iPhone without the use of a third-party app. A document can also be signed. If you just want to scan and send a document or sign a document using your iPhone or iPad, here’s how.
1. Use the Notes app
There is a scanning feature in the iPhone’s Notes app that you can use whenever you create a new document on your phone. Here’s how.
- Click on a note to open it or start a new note.
- Scanning documents can be done by tapping on the Camera icon.
- Place your document on a flat surface and use your device’s camera to take a picture of it.
- Using the yellow highlight, the app will automatically scan your document if your device is set to Auto Mode mode. Lighting conditions determine whether the app will use flash. If the camera does not automatically capture your document, you can manually capture a scan by pressing the shutter button.
- Scan in color or black and white or grayscale by using the filters control.
- For a better scan of a page, or to scan only a portion of the page, drag any corner.
- Keep Scan is the next step.
- This document can be expanded by scanning more pages, and then tap Save when you’re done.
Even after your scan is complete, you can still edit it with filters and cropping tools, or delete it. It is possible to correct an individual page in a series without having to restart the entire scan. Additionally, you can adjust the document’s borders, apply a filter or rotate the document to make it look exactly the way you want.
2. Use the Files app
As a result of the Files app, Scan Documents on iPhone and storing them is extremely simple. You can even scan receipts and documents that you have signed and scanned. Ensure that your iPhone and computer are both connected to iCloud and that you can access your iCloud Drive. On how to get started.
- The Files app can be found on your smartphone. The iCloud folder is where you’ll find all of your iCloud documents.
- The iCloud Drive location can be selected while the app is open.
- Using a downward swipe, select “More” (three dots).
- Click on New Folder, give it a name like Scans, and then click on Done to finish.
- Swipe down again to tap the three-dot More button, then select Scan Documents on iPhone to activate the camera from your newly created Scans folder.
- Hover the phone over the document until it is recognized by the Camera app. Text in the document is highlighted in blue. Assuming it takes a picture, the app has a shutter button for when it doesn’t.
- Tap the Save button, and your scan will be saved to the Scans folder in iCloud, where it will be accessible from anywhere you have iCloud access. You can rename the document by tapping it.
Scanning multiple documents in sequence:
- Prepare a stack of Scan Documents on iPhone so they can be scanned sequentially.
- After the camera takes a picture of the first page, the bottom of the app says “Ready for the next scan”. You need to remove the first page in order for it to capture the second page.
- Continue scanning until you’ve finished.
- All of your scanned pages will be saved as a single document when you click Save. It’ll be indicated by a badge how many pages there are in the book.
The app will automatically correct the view to flatten the scan if you don’t get the scanning angle right. Finished scans will be properly aligned and provide a high-quality representation of the contents when viewed on your computer screen.
3. Use Continuity Camera
When you’re using macOS or iOS, you can access your mobile device’s camera via the Continuity Camera feature. Photos and scanned documents can also be quickly transferred directly from your device to a document on your computer.
Apple’s Continuity Camera is compatible with native apps such as Notes, Mail, and Messages. As of now, it’s compatible with macOS Mojave and iOS 12 (or later).
A Bluetooth-enabled Mac and iPhone are required to use this feature. To use two-factor authentication, both devices must be signed in with the same Apple ID. Using TextEdit on iOS 14 and macOS Big Sur, learn how to Scan Documents on iPhone.
- Using your Mac, launch any of the apps that are supported.
- Choose Scan Documents on iPhone from the pop-up menu when you control-click or right-click on a Mac document or window. Select File or Insert from the menu bar to get to the scanning feature.
- Point the camera lens of your iPhone or iPad at the document and wait for it to be scanned. Alternatively, you can manually capture a scan by pressing the shutter button or one of the volume buttons on the phone.
- Drag the corners to adjust the camera’s position to fit the page. Afterward, click Keep Scan.
- Add more scans by repeating the process, or click Save at the end to close the window.


